
Micro-Realism Tattoos: How Artists Pack Detail into Small Spaces
Micro-realism tattoos fit photographic detail into a small area using precise needle control, careful layering and strong contrast. They work best when the subject is simple, the reference photo is sharp and high-contrast, and the tattoo is sized slightly larger than you first imagine, so the finest details don't blur together as the skin ages.
Key takeaways
- Micro-realism is small-scale realism: photo-like shading in a space often no bigger than a palm.
- Precise needle control and patient layering are what make tiny detail possible.
- Sizing up slightly is the single best way to keep micro-realism readable for years.
- A sharp, well-lit, high-contrast reference photo makes a huge difference.
- Simple subjects — one face, one animal, one object — work better than busy scenes.
On this page
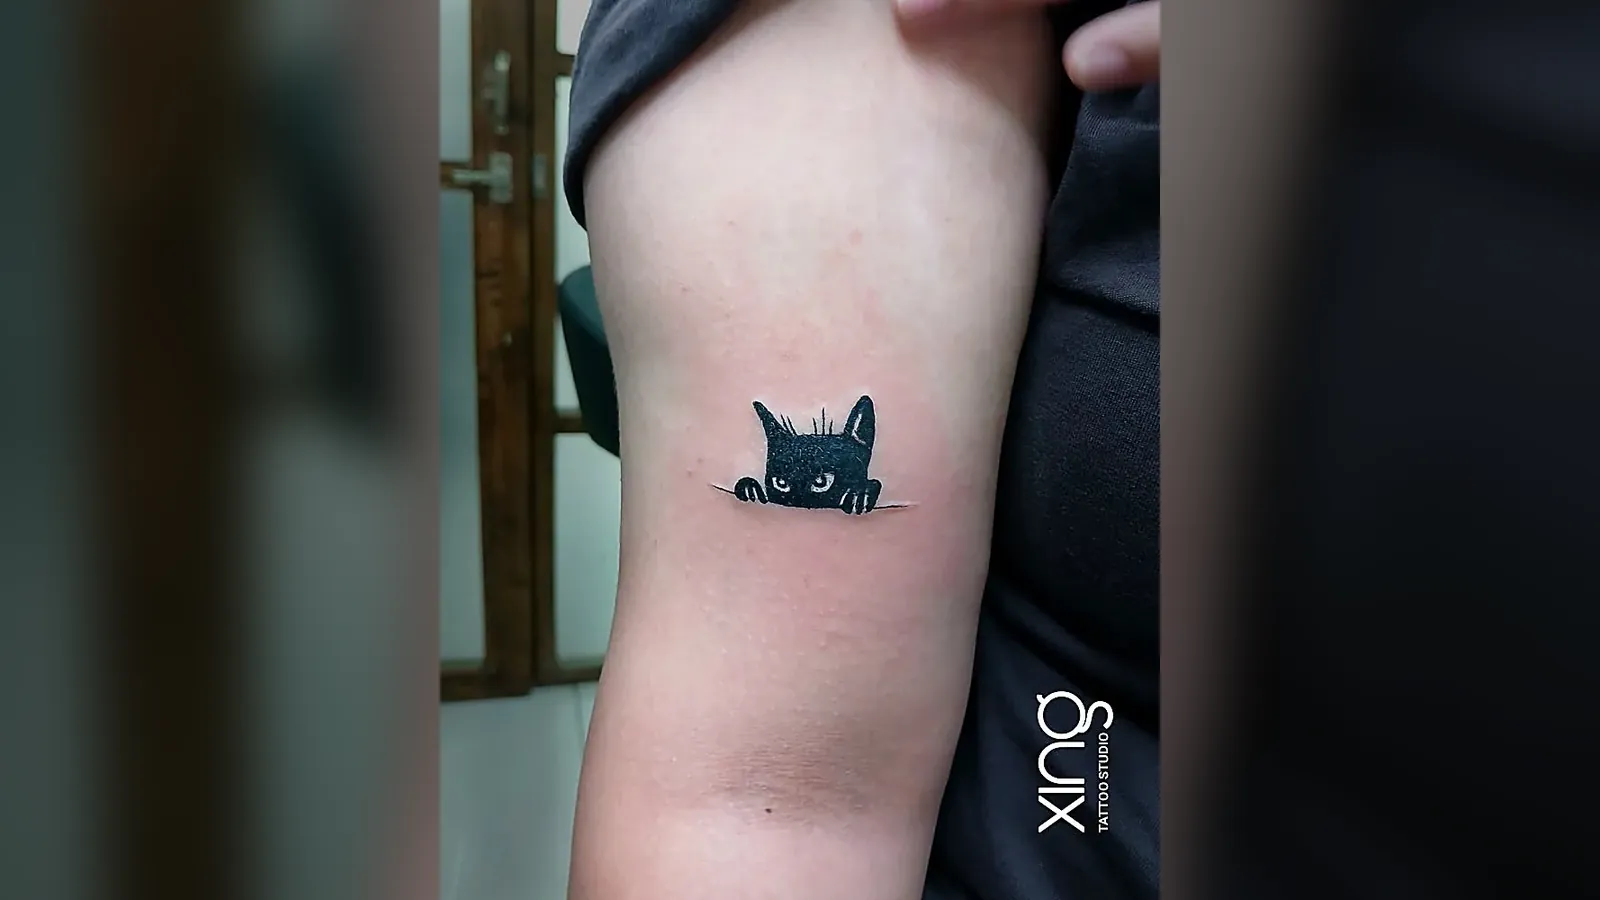
A tiny cat peeking over a line. A dog's face the size of a coin. A badminton player mid-jump on a forearm. Micro-realism tattoos take the photographic shading of realism and shrink it into small spaces — and when they're done well, people lean in to look twice.
But small and detailed is a difficult combination. This guide explains how artists pack so much detail into micro-realism tattoos, why sizing up slightly matters so much, how to choose a reference photo that works, and how Peace approaches precision work at Xing Premium Tattoo Studio in Brookefield.
For realism at larger sizes — sleeves, portraits and big pieces — read our realism tattoos guide. This post focuses only on small-scale work.
What are micro-realism tattoos?
Micro-realism tattoos are realistic designs done at a small size — usually a few centimetres across — with photo-like light, shadow and texture packed into a tiny area.
Popular micro-realism subjects:
- Pet faces and tiny full-body pets.
- Small animals — birds, butterflies, bees.
- Miniature portraits.
- Eyes, lips and hands.
- Objects — a flower, a watch, a camera, a shuttlecock.
- Small sports or hobby scenes.
What makes them different from fine-line tattoos is shading. Fine line is mostly linework; micro-realism builds depth with soft gradients.
How do artists pack detail into small spaces?
Through precise needle control, patient layering and planned contrast. Every millimetre counts, so the artist decides in advance which details matter most and which can be simplified.
Needle control
- Small needle groupings give fine, controlled shading.
- Consistent depth keeps tones even and avoids blowouts.
- Slow, steady passes build tone gradually rather than all at once.
Layering
- Light tones go in first, then darker layers are built up.
- Each layer adds depth without overworking the skin.
- Overworking a small area can damage skin and blur detail.
Contrast planning
- The darkest darks and the lightest lights are placed deliberately.
- Skin is left open where highlights should be.
- Without strong contrast, small realism turns into a grey smudge.
Simplification
- Tiny background details are left out.
- Fur, hair and texture are suggested rather than drawn strand by strand.
Why should I size up slightly?
Because detail needs room. Ink settles and softens a little over the years, and in a tiny design, details that sit too close together can merge. A small increase in size gives every element more space.
| Size choice | Day one | After years |
|---|---|---|
| Very tiny, lots of detail | Looks amazing | Details can merge; reads as a dark shape |
| Slightly larger, same detail | Looks amazing | Details stay distinct and readable |
| Very tiny, simplified subject | Clean and simple | Holds reasonably well |
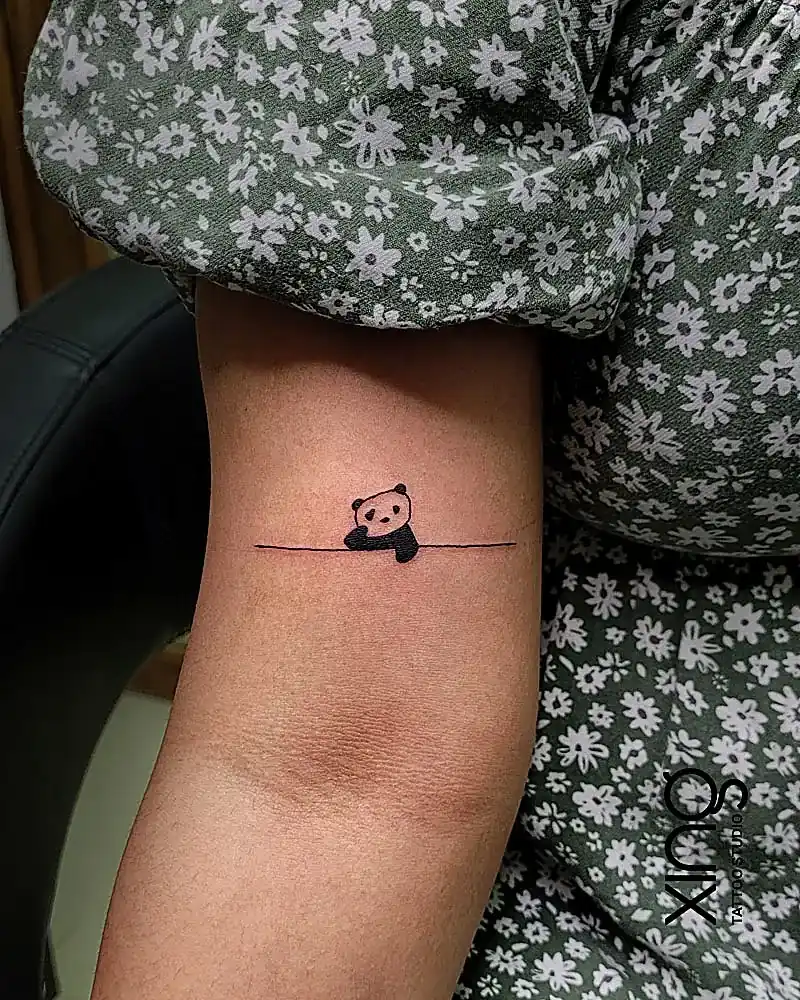
Sizing up isn't about making a big tattoo — often it's just a little more. Peace will suggest the smallest size that keeps your subject readable.
What makes a good reference photo for micro-realism?
A sharp, well-lit, high-contrast photo. The clearer the light and shadow in your photo, the more information Peace has to work with — and the better the tiny details turn out.
Reference photo checklist:
- Sharp focus, especially on the eyes.
- Clear light coming from one direction.
- Visible shadows that show the shape.
- High resolution — the original file, not a screenshot of a screenshot.
- No heavy filters or beauty-mode smoothing.
- The subject fills most of the frame.
Photos that are hard to work with:
- Dark, night-time or flash photos.
- Blurry or motion photos.
- Group photos where the face is tiny.
- Heavily edited or filtered images.
Our guide to portrait tattoo reference photos and our pet portrait tattoo guide go into detail on choosing photos for faces and animals.
Which subjects work best in micro-realism?
Simple, recognisable subjects with clear shapes: one face, one animal, one object. Busy scenes with lots of small elements are harder to keep readable.
Usually work well:
- A single pet face.
- A small animal with a clear silhouette.
- One flower with strong light and shadow.
- An eye or a pair of hands.
- A single figure in a strong pose.
Usually need a bigger size:
- Group portraits.
- Full landscapes.
- Several objects together.
- Text inside a realistic image.
Which placements suit micro-realism?
Flat, stable areas with smooth skin suit micro-realism best: the inner and outer forearm, upper arm, calf and shoulder blade.
- Forearm — the most popular choice; easy to view and care for.
- Upper arm — protected from sun and friction.
- Calf — flat and stable.
- Shoulder blade and back — great for slightly larger pieces.
Placements to think twice about:
- Fingers and hands — skin renews quickly and fades fine detail.
- Feet — friction from footwear.
- Inner wrist — very thin skin and movement.
- Ribs — skin moves with breathing, making tiny detail harder.
Peace's tip: Hold your reference photo at arm's length. If you can still recognise the subject clearly from that distance, it will make a strong micro-realism tattoo. If it turns into a blur, we'll need to simplify it or size up.
How long does a micro-realism tattoo take?
Usually less than large realism, but more than a simple fine-line piece of the same size, because shading is built in layers. Exact time depends on size and detail.
For reference, small minimalist pieces usually take about 30 minutes to 1.5 hours, while realism and portraits can take 3–7 hours per sitting. Micro-realism usually falls somewhere in between.
How do I care for a micro-realism tattoo?
Gently and consistently. Small, detailed areas are easy to damage by picking, so let flakes fall off on their own and keep the tattoo out of the sun.
- Wash gently twice a day and pat dry.
- Apply a thin layer of aftercare product.
- Don't pick or scratch — even small lost patches change the image.
- Avoid sun while healing; use sunscreen afterwards.
- Ask about a touch-up if any detail heals unevenly.
Our tattoo aftercare guide covers the full 30 days.
Black and grey or colour for micro-realism?
Black and grey is the safer choice for most micro-realism, because contrast does the heavy lifting in a small space. Colour can work, but small colour areas fade sooner and are harder to keep distinct.
Black and grey suits:
- Pet faces, portraits and animals.
- Subjects defined by light and shadow.
- Placements that get some sun.
Colour can suit:
- Flowers, butterflies and birds with one strong signature colour.
- Small accents, like a red flower in a black and grey piece.
On Indian skin tones, strong colours such as deep red, blue and green hold better than pastels. Our comparison of black and grey vs colour tattoos explains how each ages.
What does micro-realism cost?
There's no fixed price — it depends on size, detail, placement and how long the shading takes. Micro-realism usually takes longer than a simple fine-line design of the same size because of the layering involved.
The best way to get an exact figure is to WhatsApp your reference photo, placement and rough size to +91 89700 07818. Our guide to small fine line tattoo cost in Bengaluru explains the factors that shape a quote for small work.
Can micro-realism be added to later?
Yes. A small piece can become part of a larger design — a pet face inside a floral frame, or a tiny portrait that later joins a half sleeve. If you think you might expand it one day, mention it at the consultation so the placement leaves room.
How we do it at Xing
Micro-realism is precision work, and at Xing every piece is designed and tattooed by Peace, who has 15+ years of experience.
- Free consultation — we look at your reference photo and placement together.
- Honest sizing — the smallest size that keeps your subject readable.
- Custom design — simplified and contrast-planned from your photo.
- Session — single-use needles opened in front of you, sealed US-imported inks, barrier-wrapped station.
- Aftercare — clear guidance and one free touch-up within 45–60 days if any part heals unevenly.
See realism work on our realism tattoo page, or meet Peace on the tattoo artist page.
Conclusion: small size, big planning
Micro-realism tattoos pack remarkable detail into small spaces, but they depend on three things: precise needle control, a sharp high-contrast reference, and a size that gives details room to last. Choose a simple subject, trust the sizing advice, and your tiny tattoo will stay recognisable for years.
For more quick answers, visit our FAQ page.
Ready to talk about your idea? Book a free consultation at Xing on the First Floor of SV Plaza, above DMART Ready, AECS Layout, Brookefield — or WhatsApp us.
Frequently asked questions
Written by
Peace
Lead Artist at Xing, Brookefield, with 15+ years of experience. Every consultation, design and session at the studio is handled by Peace personally.
Meet Peace
Share this guide
WhatsAppKeep reading
Signature Tattoo Services in Brookefield, Bangalore
Custom work by Peace at our AECS Layout studio — serving Brookefield, Marathahalli, Whitefield and East Bengaluru.
Realism & 3D Tattoos in Brookefield
Explore service Read the guide
Portrait & Memorial Tattoos, Bangalore
Explore service Read the guide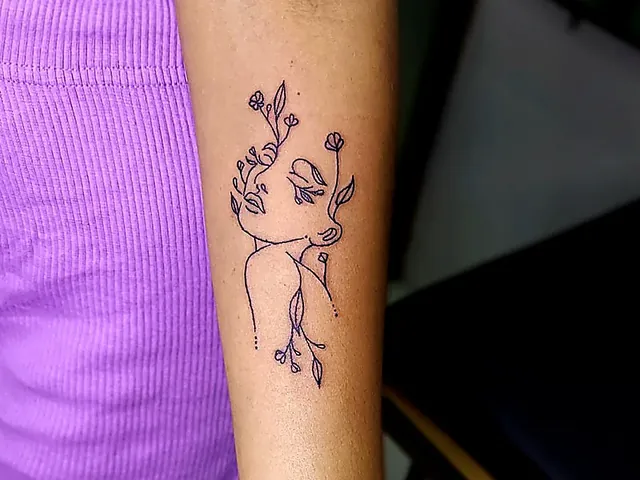
Fine Line & Minimalist Tattoos, AECS Layout
Explore service Read the guide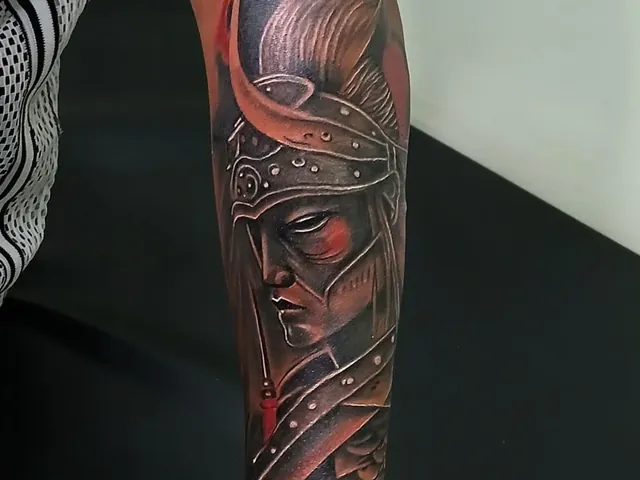
Black & Grey Tattoos near Whitefield
Explore service Read the guide